Vegetable structures
 Everyone needs a bit of structure in their lives. Writing this post three times a week gives me lots of discipline and helps to keep the gardening diary up to date. (I’m actually late today, so forgive my tardiness, I had a brief loss of structure in the form of a gripping crime novel, too many new notebooks to cover and admire, and pictures to sort.)
I looked back a while ago (dreadful experience) at the very early posts back in 2007 and I can see that I used to write garden notes on scraps of paper and tried to recreate the experiences and chores on the train back to London. Some of the notes were blotchy and grubby with soil and I ended up just writing lists of achievements in a demented tick list sort of way.
But as you all know, gardening isn’t just a tick list. It’s something you need to be doing and enjoying as you work. The rewards are a daily pleasure. And yes there is the cold glass of something at the end of the day and admiring just what you have done.
But I always think that you wouldn’t put all this work into making your surroundings lovely if you don’t find the process as enjoyable as the result.
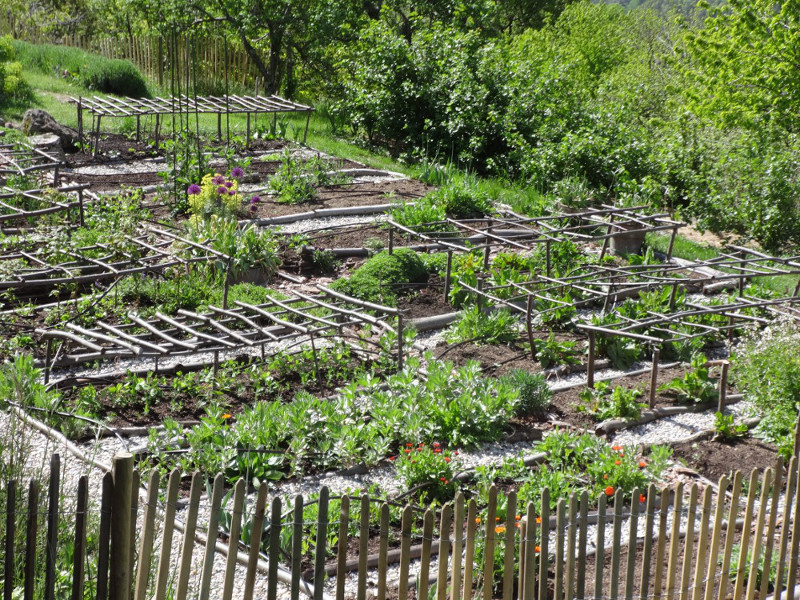
For about six months now I have had ‘fix structures in potager’ on my list. A few years ago I had some smashing little potager structures. You can see them in the Farm Tour section with the vegetable garden. I actually built them myself which amazes me even now. But it was the pressure of the impending House and Garden magazine photo shoot that spurred me into action.
 Here is a reminder. And sorry everything is monster sized I seem to be unable to change the photo sizing button today.
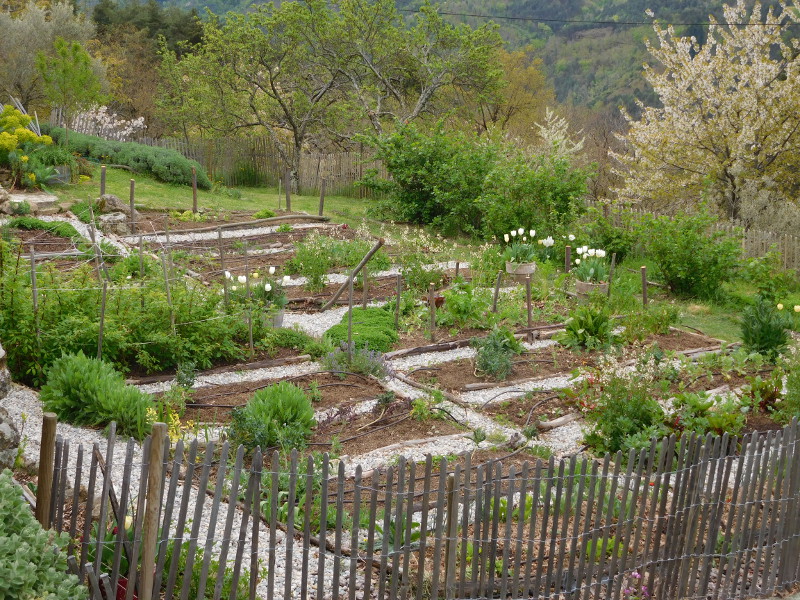
They have been gently rotting and falling apart ever since. And they were frankly wonky. One accidental trip or lurch and the whole thing teetered.
I don’t like to look down on the productive vegetable garden and see just flat beds. And last season I seem to recall my poor peas just tangled up with each other as they didn’t have sufficient support to grow up and make harvesting easier.
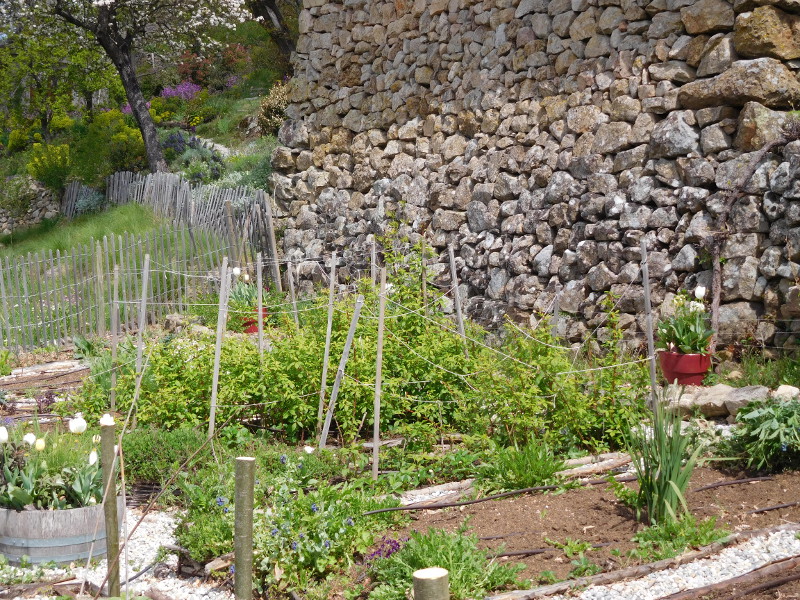 So this winter out they came. I actually recycled a few of them to use against the stone wall at the back of the potager to help my kiwai plants scramble up towards the grape vines.
I had a go at remaking the structures. But my brain had obviously forgotten what was required. Actually I just never was able to thump them in deep enough to stop them wobbling.
And if you look at the raspberry beds at the top of the potager you can see I chickened out and actually used those ubiquitous tomato stakes and tied twine between them to corral the plants.
Not a good look. Well, okay when the whole thing is groaning with vegetation and you pick and pick the lush raspberries and don’t mind the dodgy look.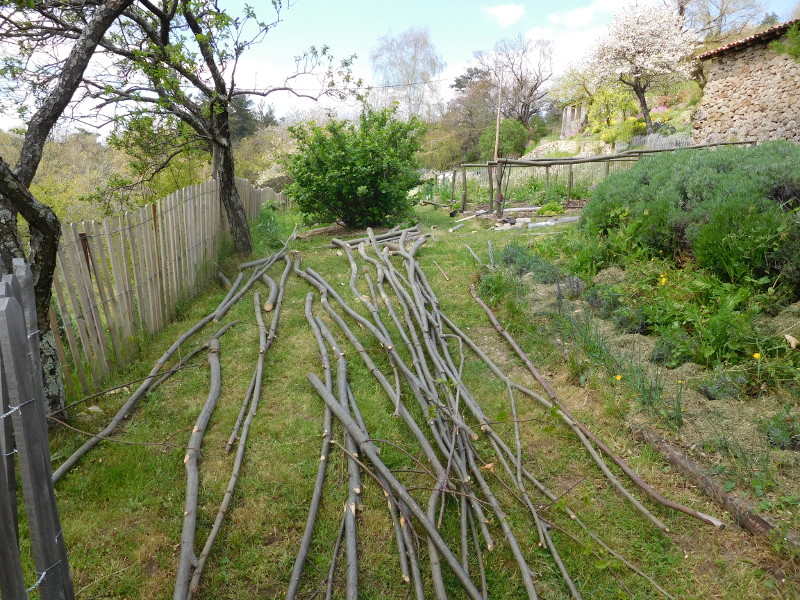
But in winter all is laid almost bare. And after trying my best to create the structures myself I admitted defeat and put in the call.
Nicolas to the rescue. This time the structures were going to be much more permanent and it was well worth the day of Nicolas’ labour to get it right.
We aren’t finished, but I feel the whole project has been dangling for so long you had best see the Day One shots. And at the end of the month when he comes back from a big agricultural job in Champagne I’ll get two more structures up.
So step one. Have a chestnut forest handy so you can harvest straight poles.
 I know, sorry. Showing off. But I have learned that you really need thick straight sturdy wood to make this work.
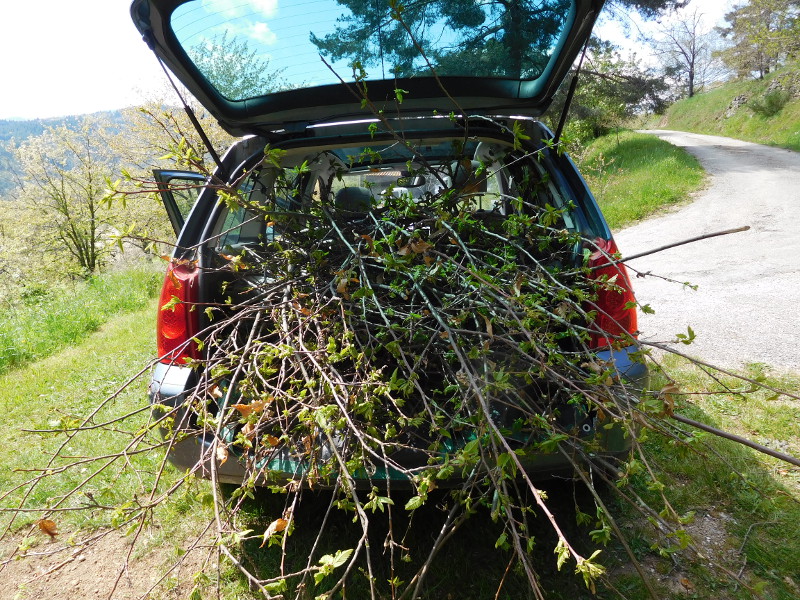
Nothing was wasted. The big branches came out and while Nicolas dragged them to the lawn in front of the vegetable garden, I was busy stuffing all the cut small branches into the car to take them down to the chipper.
This is not the sort of job where you can stand around admiring someone else hauling endless tree trunks and taking action shots. (I do take action shots but often when Nicolas isn’t watching so I miss the eye rolling.)
All morning as the chain saw was working and the trunks were cut to size – here they are one metre in height at least so a huge amount can be hammered into the ground – I was wondering how on earth he was going to attach the horizontals to the verticals.
That’s where I went wrong last time. I nailed them in. And with green chestnut, it tends to split.
So this is the reason for the post. Action shots of a very clever idea. First up when Nico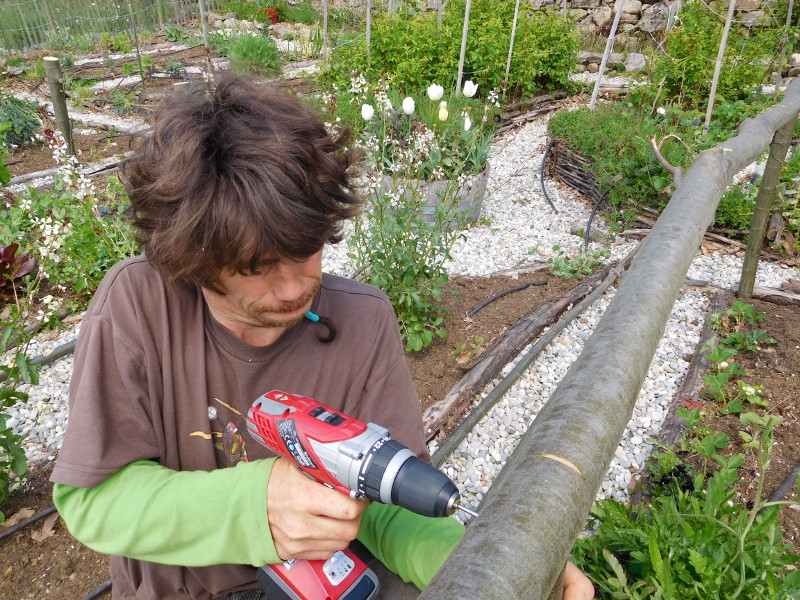 las was hammering in the logs (sharpened to a point one one end) he tied wire around the top of the logs so that the whole top held together when he applied brute strength to getting the logs in.
And if they split a bit, there wasn’t an aesthetic problem as he cut off the top battered ten centimetres of the log with a chainsaw. That was my big lesson. Always thump in logs that are much longer than you need.
And the solution to the actual tops? I thought we were going to lash them together. But no. Drill a small hole through the top of the upright and feed through some thick wire.
If you see this shot you can also spot a cut in the top of the log. Each log was cut just enough so that when the thick wire was thread through it wouldn’t slide off but fit snugly over the round log.
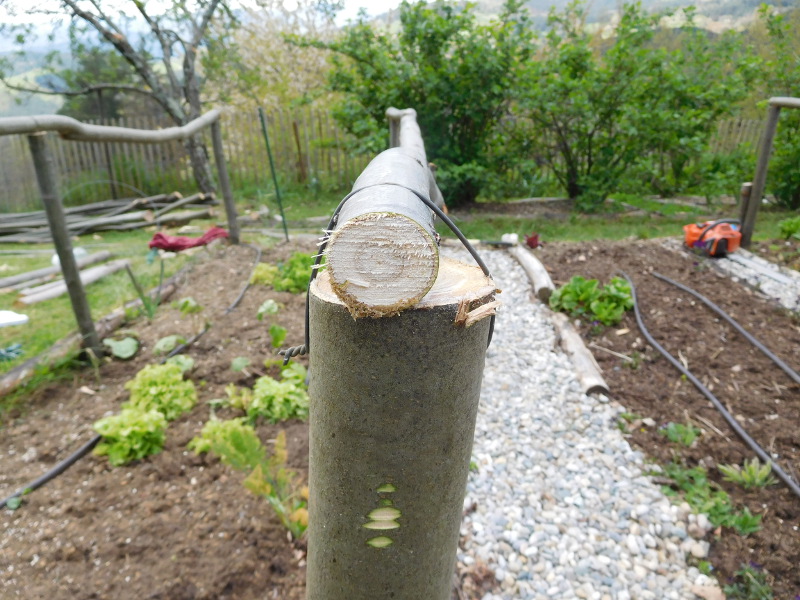 A deft twist with pliers and the whole support was solid.
He even jokingly said that he was planning for my old age by making it so that I could haul myself up on the structure if I was working on the plants underneath. Cheeky. Little does he know that is the reason why the last structure fell apart last time I did just that. I grabbed hold to haul myself up and came away with a lattice of rotting chestnut.
It was a long day’s work. I don’t want every bed to be built up, but just about every second one so that I can rotate my crops and have the peas and the flowers and broad beans supported each year. And drape some good cabbage moth netting over a new support each year to keep out the butterflies.
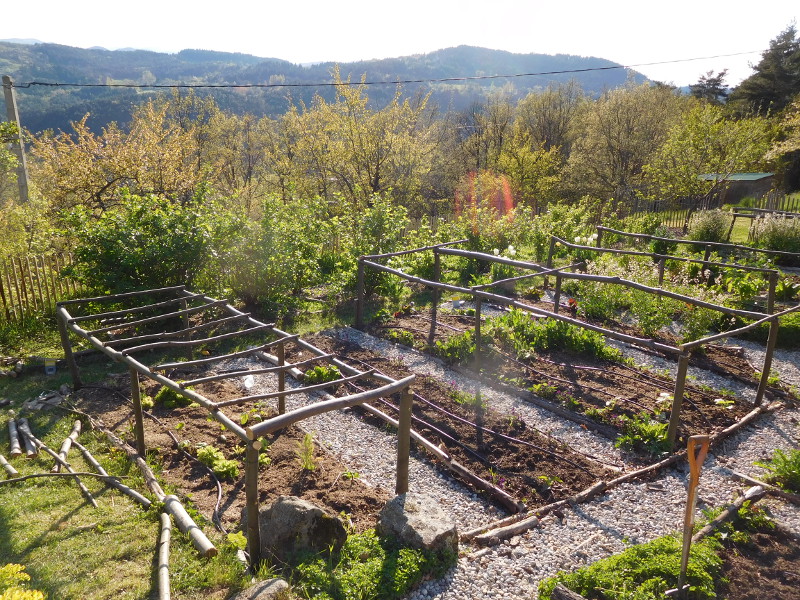
Once the solid structures were up (they are hip high now rather than knee high) we had to decide how to make the grid patterns on top.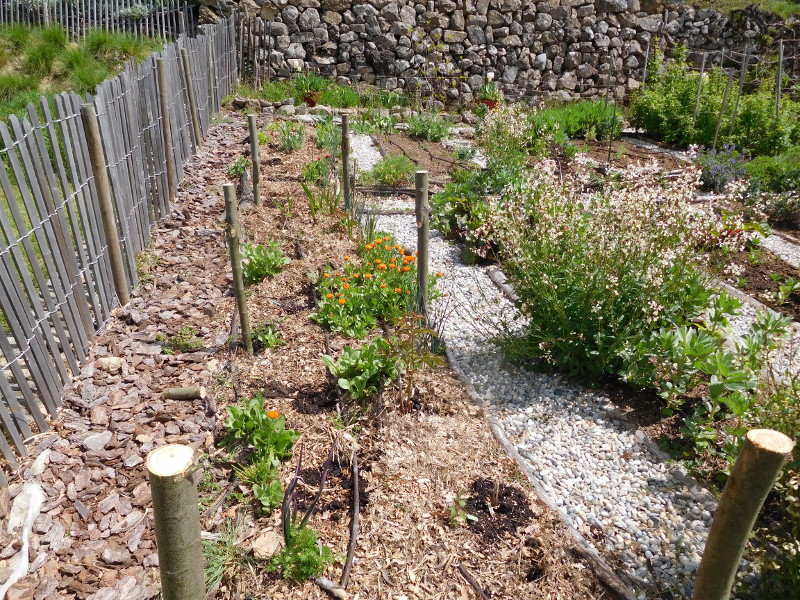
Thin whippy sticks were tried and discarded. And we eventually went back to hammer and nails. Each cross piece would be placed and then have two nails lightly hammered in either side to keep them in place. These are the bits of wood that will rot faster, and I can play around with the widths and the design.
So that is where I left the project. I finished one structure and have just six more to go. Well, I still have the middle long skinny poles to go over. They are the hardest to find as these beds are incredibly long. And hardest of all is this very long flower bed grid at the far end of the potager. I think Nicolas was rather hoping I would say that it didn’t need a grid. But no. No early departure for the long suffering man.
It’s odd to think I might one day get dahlias that grow tall enough and bushy enough to demand some support. Right now there is nothing poking out of the soil. Just the promise of buds.
And I’m gong to have to work very hard to get this last long structure right. It’s tricky getting the straight thin branches. Hours of forest wandering ensued and I was a fuss pot about the curves and tapering lengths. With such beautiful straight and chunky uprights, I want the horizontals to complete the picture.
I’ll get there. I’ve given myself until the end of the month when Nicolas returns to have the whole thing hammered and sorted. Deadlines. A big tick off the list. I promise to try and enjoy the experience of wading through the forest searching for the long straight skinny ones this pretty vegetable garden so desperately needs.